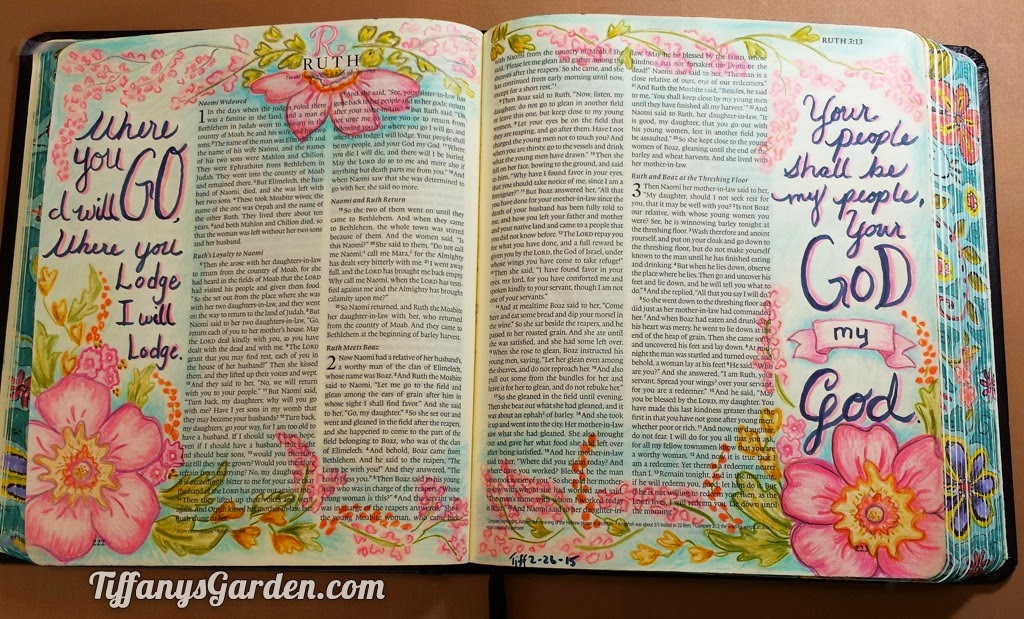
I have recently joined a Bible Journaling group called Documented Faith.
We have weekly verses that we doodle in our bibles and then share them
with the group! I've been doing all kinds of Art Journlaing over the
past year and have found this group to be lots of fun with great people!
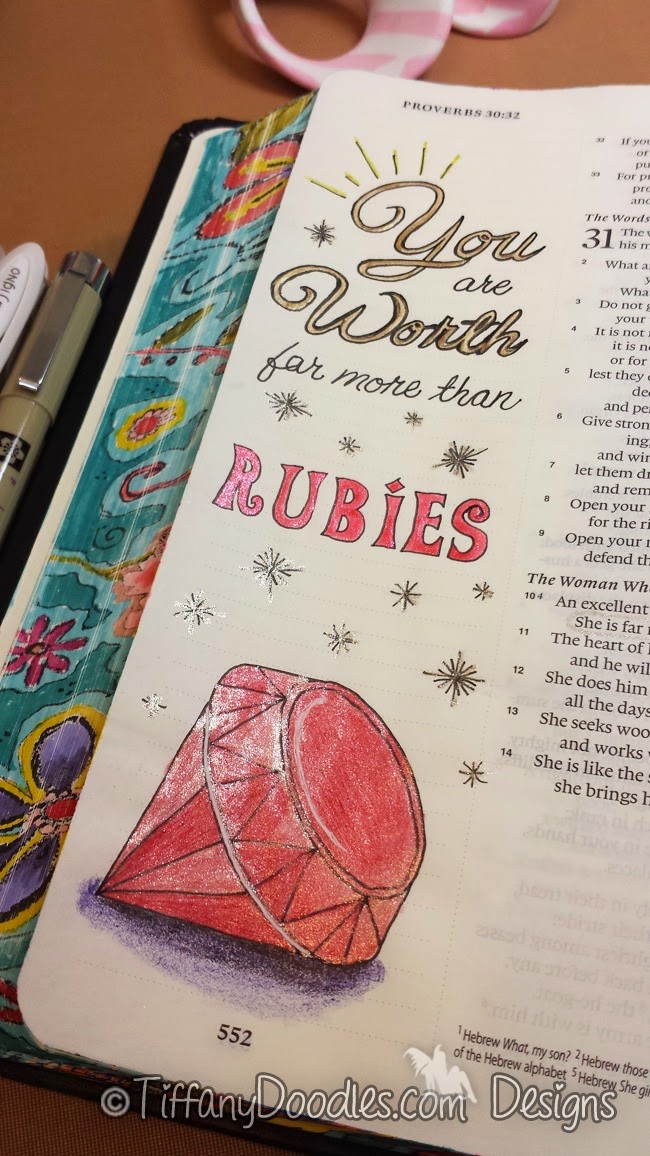
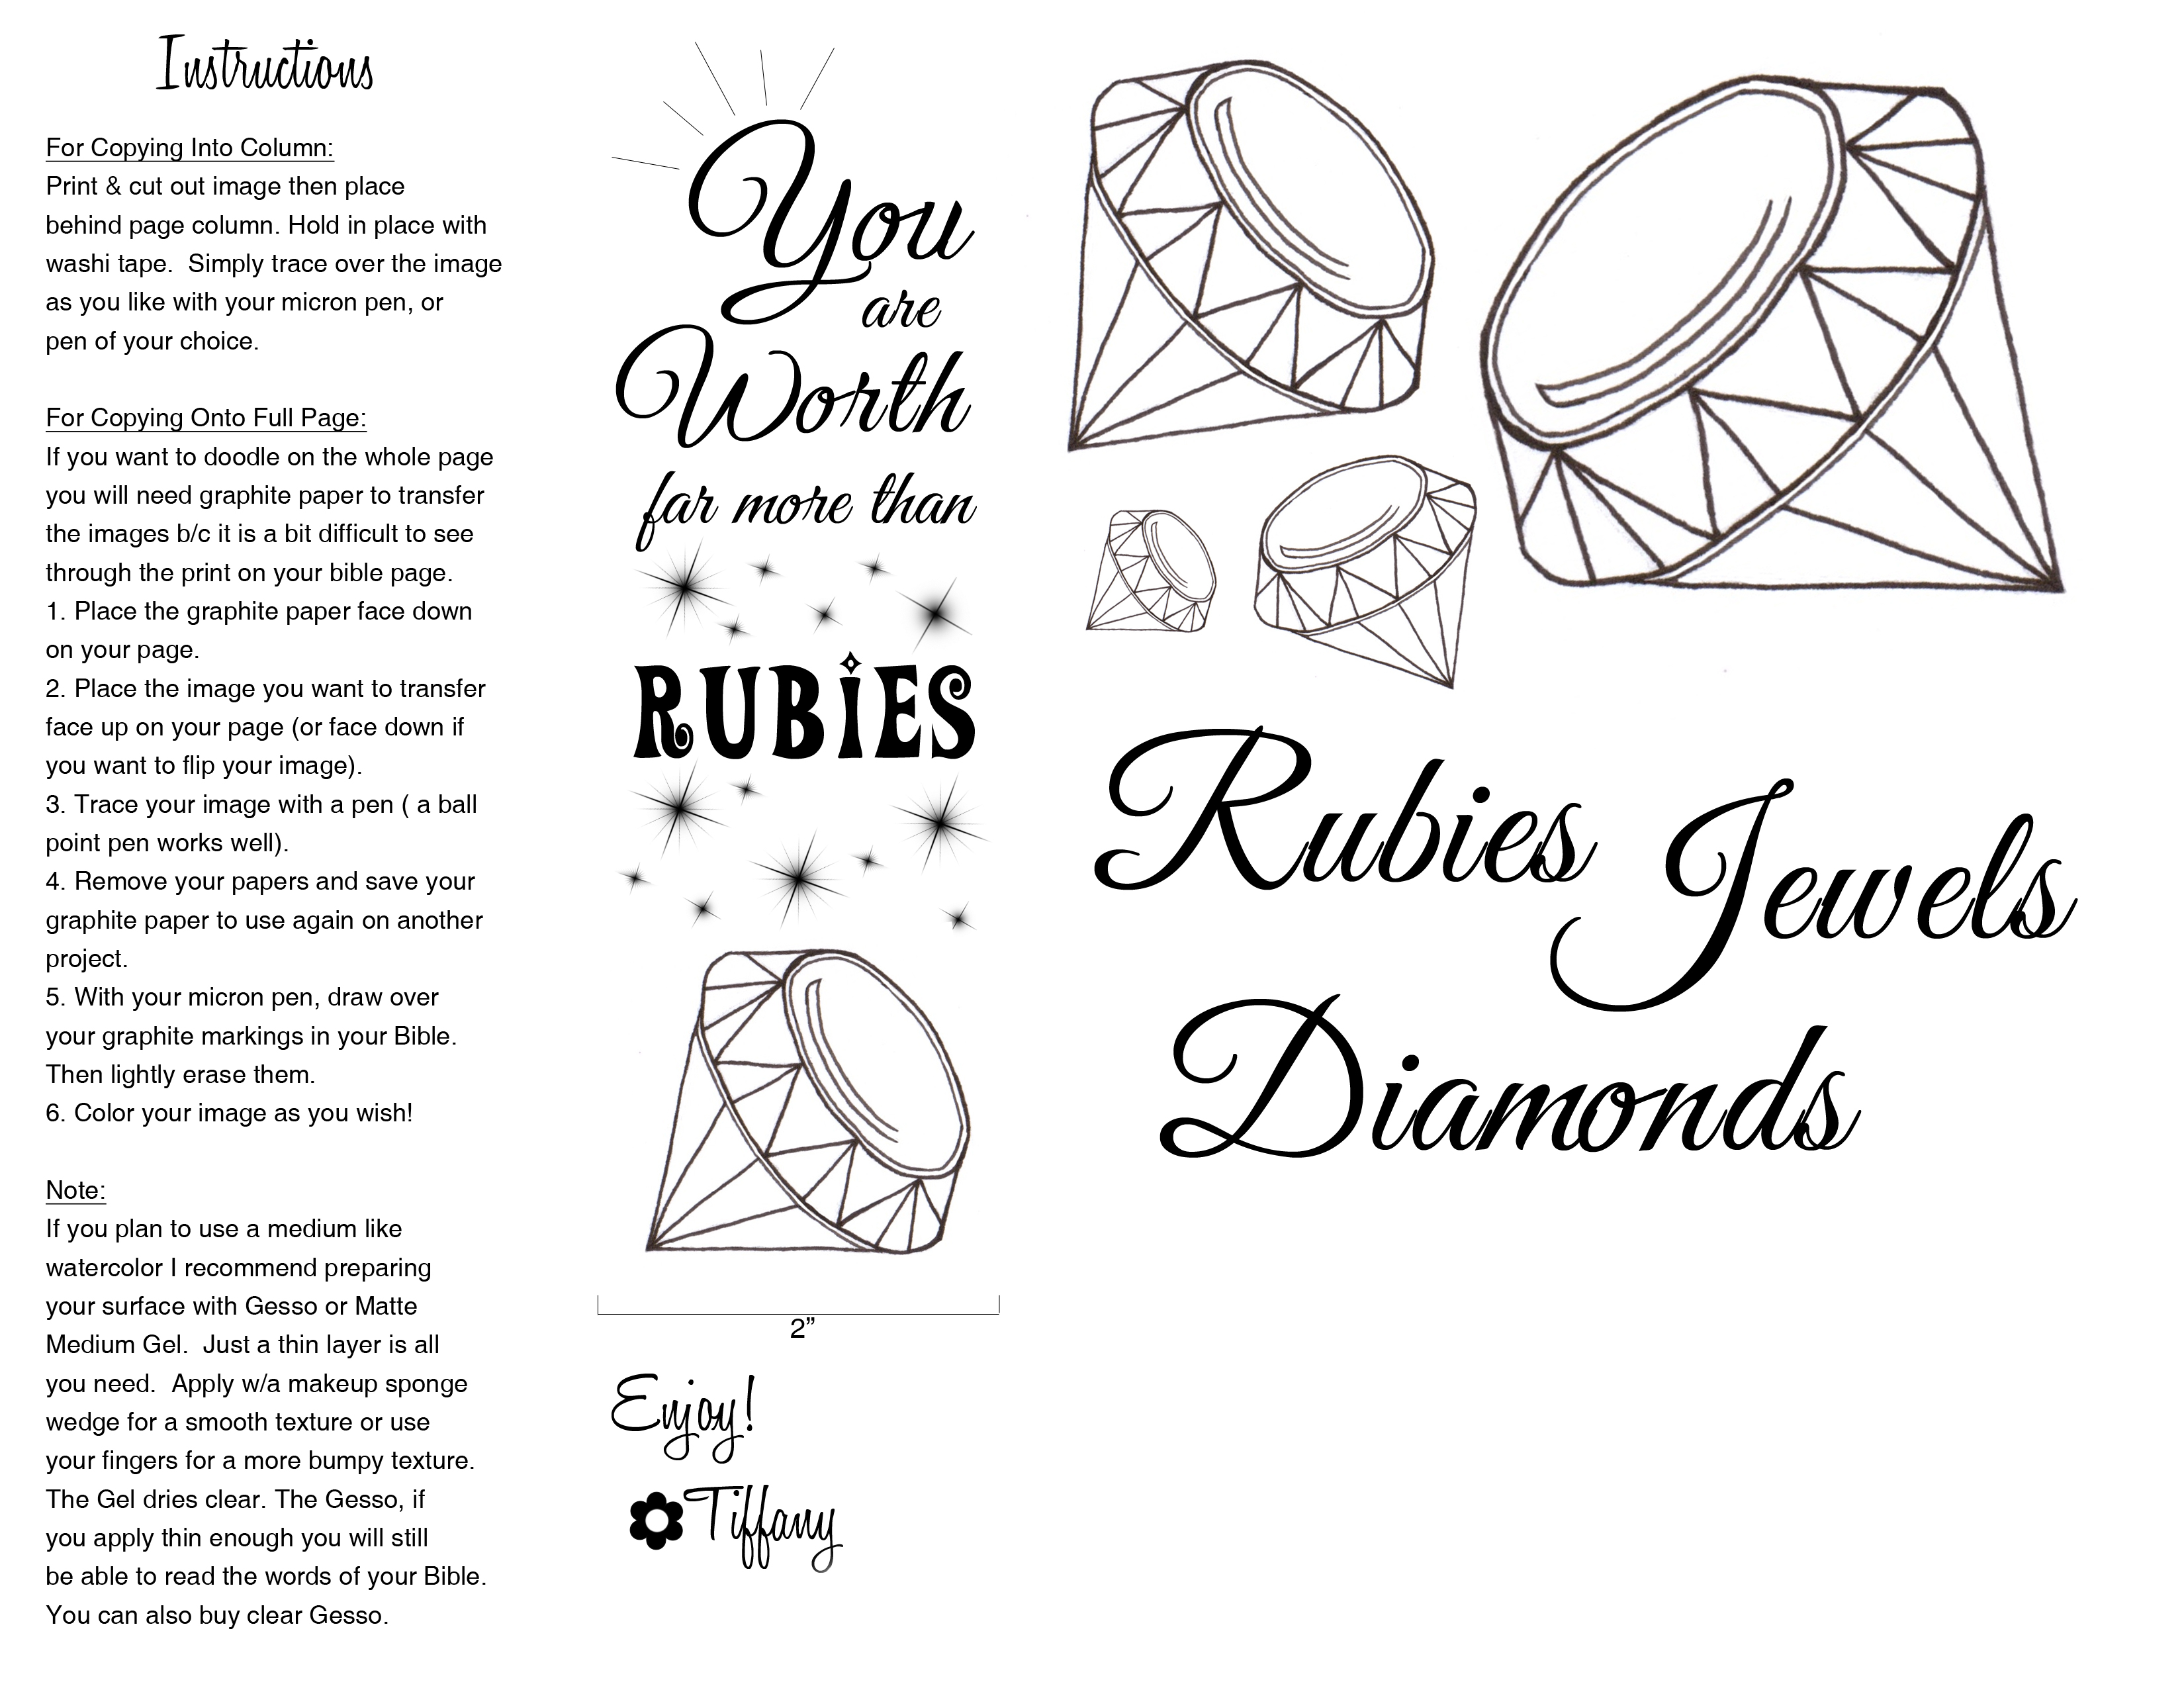
I've created this image set for Proverbs 31:10, "A wife of noble
character who can find? She is worth far more than rubies".
For
this piece I used colored pencils and a couple of Gelly Roll pens. 1st
step was to print the PDF onto regular copy paper. (my printer is
running out of ink!) Then I cut out the piece that fits in the 2"
column of my journaling bible. It doesn't have to be exact just trim
the piece out.
Using some washi tape (cause it's easy to remove) I taped the piece face down to the back of the page.
Since
our bible pages are so thin and transparent, it is easy to see through
the column area. Next step is to trace the image as you wish. I have a
tutorial coming soon on how to transfer the image onto the whole page
with graphite paper.
Here is my traced image. I decided to wait to do the sparkles free-hand.
These are all the pens I used.
- Micron .005
- Signo white gel
- Gelly Roll Gold metallic
- Gelly Roll Red Stardust
- Gell Roll Clear Stardust
- Derwent Watercolor pencil (not using water) - Crimson Lake
- Derwent Inktense Watercolor pencil (not using water) - Violet
I
filled in my words at the top with the Gold metallic pen. After it
completely dried I went back around the edges with my Micron pen. I
also filled in some sparkles and went over those with a Stardust pen.
For the Rubies word I filled it in with my Red Stardust Gelly Roll Pen! Pretty!
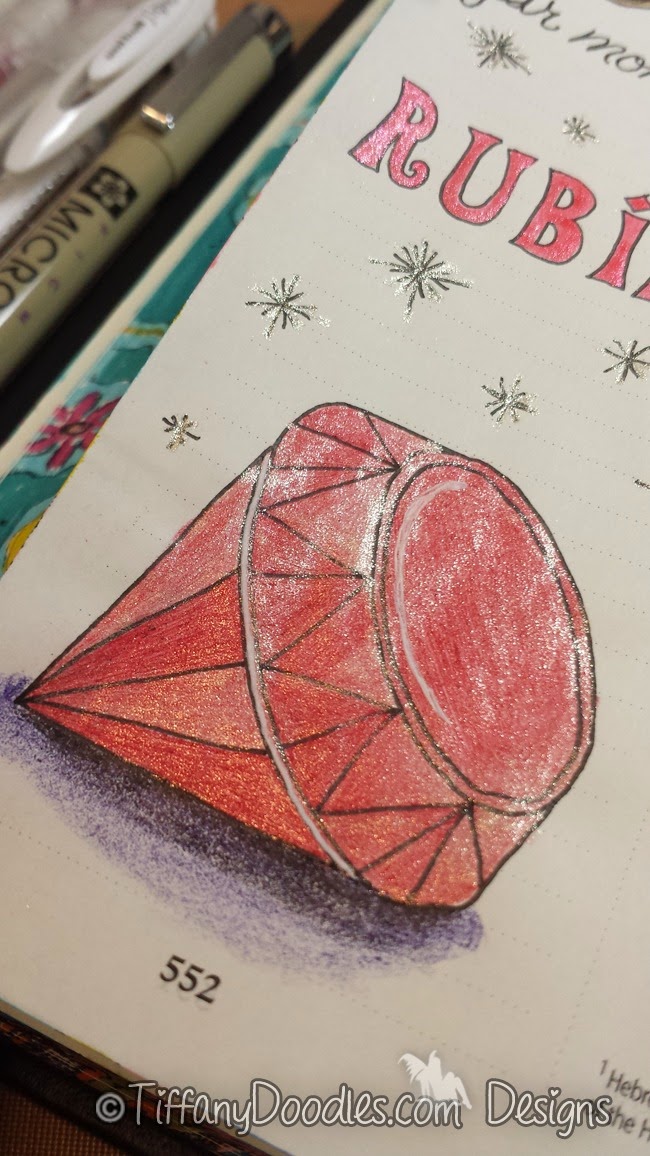
And
finally for the pretty Ruby (my own birthstone!) I used the Crimson
Lake pencil and colored it in lightly and then darker on every other
section. Then I went over the whole jewel with my Clear Stardust Gelly
Roll. Then used the Violet pencil to fill in some drop shadow.
I'm pleased with how it turned out. A very simple design.
Here is a basic tutorial for for using Digital Stamps and printing them from Word.
They can be used in the same way as the PDF I am offering you here! As
always, if you have any questions or need help, don't hesitate to ask
me! =)
Here
is the link to the free PDF I've made for you. It's in my Doodles
store where I have my other stamps, so you'll have to create an
account. If you don't want to, just email me (tiff . web at gmail .
com) and I'll email it over to you!! There are instructions and tips
for you on the PDF.
You are Worth far more than Rubies
FREE PDF
Check out my other Bible Journaling Freebies:
Foxes,
Wings
I
have several more of these Freebies lined up for you along with
tutorials to go with them! So be sure to follow me to get them when they
are posted! Let me know and I'll follow you back! =)
My Personal Links:


 I'm a self-employed web designer & photographer since 1998. But that's all business and this blog is all about my crafty hobbies! Throughout this blog you will find things like watercolor painting, paper crafting, stamping, card-making, copics, my own hand drawn digital stamps, beading, cooking, gardening, photography, photoshop, the antics of my 4 legged children, Emma & Francie!

 Sign up with your email and I'll let you know everytime I add a new digital stamp, photo, paper craft, or painting! Don't forget to click the link inside your sign up email from Feedburner to complete the subscription!


